
String quilts are a fantastic way to use up lots of bits and pieces and actually are a lot of fun. Here are a few pictures of my completed string quilt and coordinating pillow.
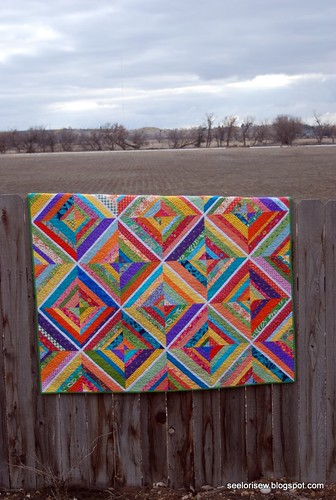


I have seen some great tutorials on paper piecing string blocks (like this one) but I don't like to pick the paper out so I decided to give it a go using fabric as the foundation square instead of paper. Happily, this works great. The quilt has a fantastic drape because of the extra weight and I LOVE it.
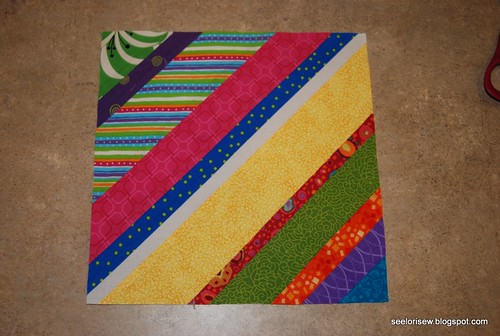
The white strip through the middle of each block is actually the foundation square mentioned above. You do not have to use white for your foundation, just be aware when picking a foundation (i.e. a dark color or bold print) that depending on the strips you choose, the foundation may show through. Also most of the foundation fabric will be covered so I would tend toward a less expensive fabric like a broad cloth, muslin or Kona cotton.
After picking a foundation fabric you will want to decide what size to make your blocks. The blocks in my string quilt are about 10". For this tutorial the blocks are 8 1/2" however, the technique is the same no matter what size the block so just figure out what works best for you.
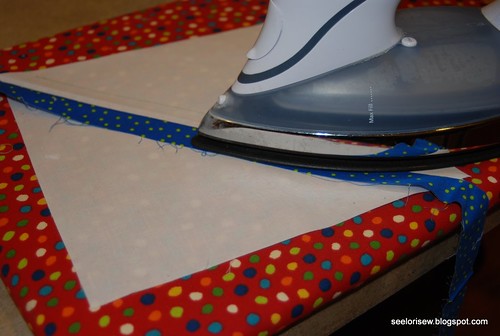
Cut squares from your foundation fabric. Fold each in half diagonally and press. Unfold and with a marker, mark 1/2" to either side of the fold, as seen below, making 1" between the lines. These are placement lines for your first two strips and will be completely covered because of our seam allowances so a sharpie will work. The space down the middle will be the 1/2" white strip on your block. Set foundation squares aside.

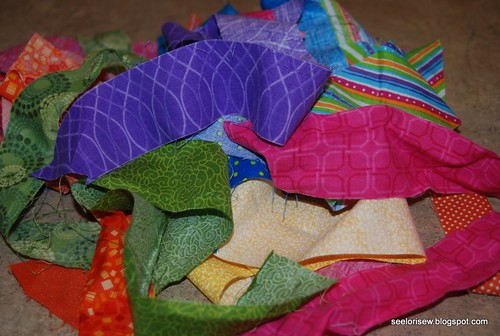
Cut or gather a pile of strips for your "strings". Mine vary from 1" to 2 1/2" and were pulled completely from my stash and scrap pile.
Place the first strip right sides together on your foundation, matching one raw edge up to one of the placement lines you drew earlier. This strip should cover, or come close to covering, both placement lines.
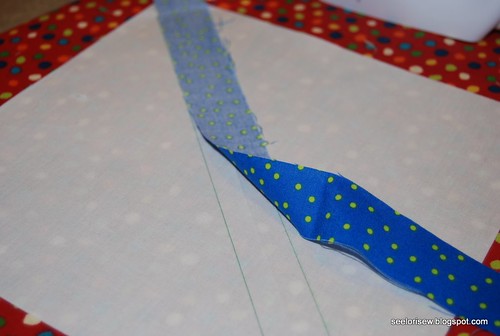
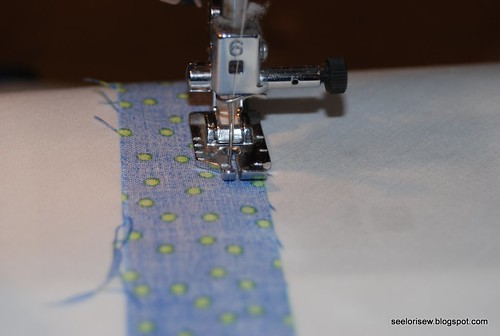
With a 1/4" foot, sew down the raw edge that is matched to the placement line.
Press open (revealing the other placement line).
Continue placing your strips, matching raw edges, stitching and pressing. Build out to the point until one side looks something like this.

Now it's time for the other side. Repeat the process, matching the raw edge of one strip to the placement line, right sides together and with the other raw edge near the finished side.
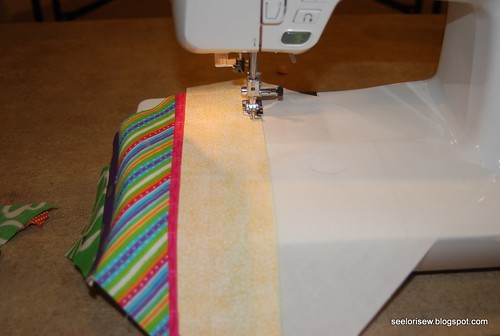
Work out until the entire foundation fabric is covered (except the 1/2" strip in the middle). Something like this...

Before trimming I like to starch and press the block. I find that starching takes a lot of the stretch out of the block and it trims nicer. Finally, trim and square your block to size. Because we are working on a bias, you may find that your foundation block may not be an 8 1/2" square. This is to be expected and I just trimmed my squares to 8 1/4". If this odd number bothers you, make your foundation squares 8 3/4" and trim to 8 1/2" when complete.
Block front:
Block Back:


